Search help articles
Getting started with MailChimp integration
MailChimp makes it easy to design email campaigns, send e-newsletters, manage subscribers and track your results. To get started:
1. Navigate to the Marketing > Email Marketing tab.
2. Click "Connect with MailChimp" button.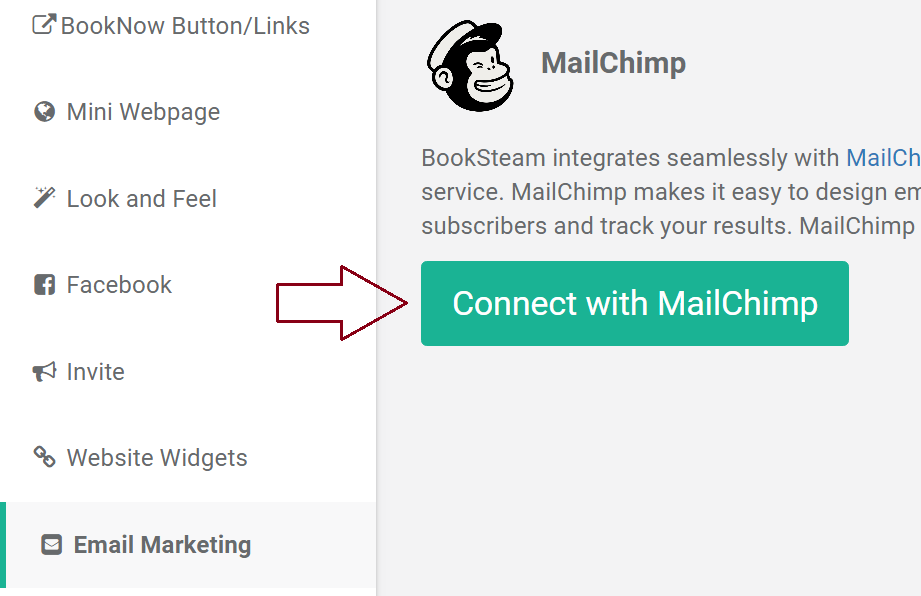
3. You will be redirected to the MailChimp login page, enter your MailChimp username and password and click "Log In". You are now connected to MailChimp.
4. Select the default MailChimp list to which your customers will be synced. If you do not have the list created, click on this link for instructions.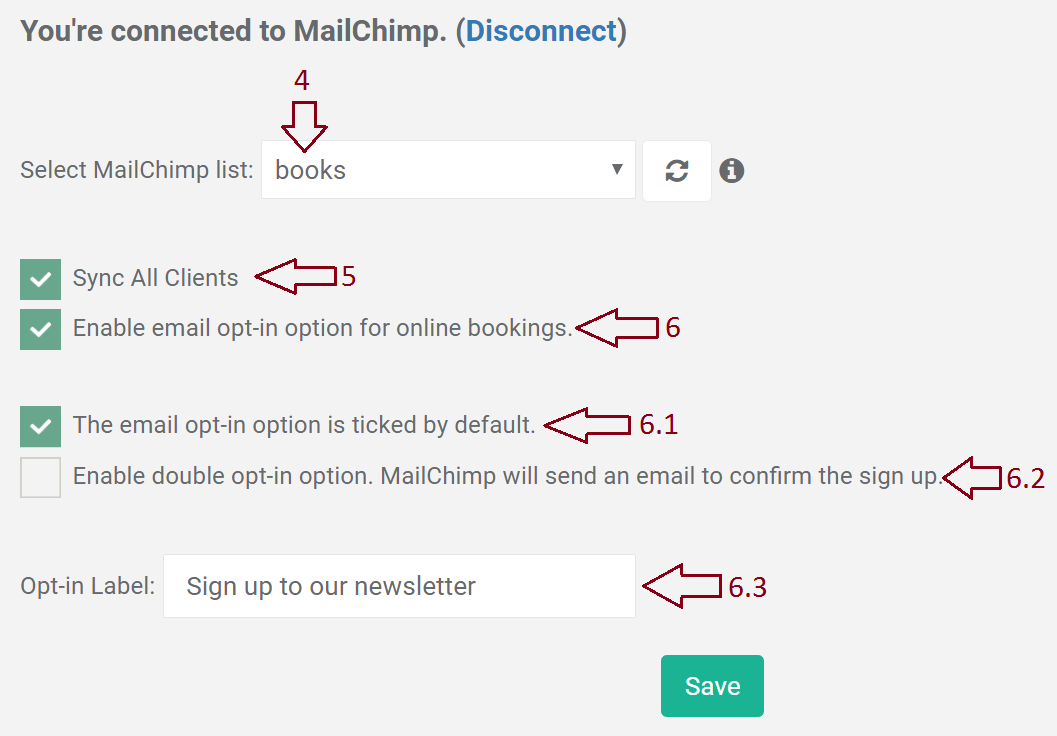
5. To sync all of your existing clients, check option "Sync All Clients". (Make sure that you have your clients opt-in permission).
6. Clients booking online will be able to opt-in and subscribe to your mailing list when the option "Enable email opt-in option for online bookings" is checked.
6.1 If "The email opt-in option is ticked by default" option is checked, the Opt-in sign up label will be ticked by default at the time of booking.
6.2 If the double opt-in option is checked, clients are not signed up immediately to the mailing list. MailChimp will email clients asking them to confirm their subscription. Learn more about double opt-in process here.
6.3 You can edit the Opt-in Label by entering text that your clients will have to tick if they want to be added to your mailing list.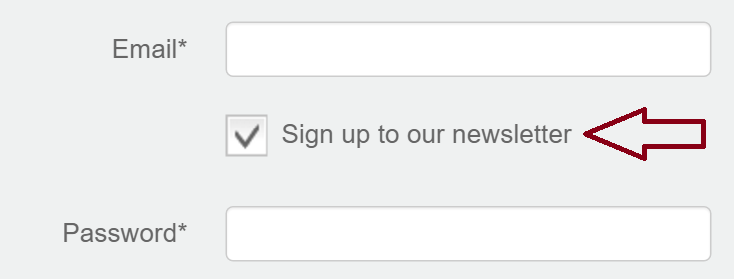
7. Click "Save". It might take up to 10 minutes to sync all of your BookSteam clients to your MailChimp list (depending on the number of clients).