Search help articles
Marking class clients as checked-in or no-show
With a scheduled class, you can easily check-in your clients or mark them as no-shows.
1. Navigate to the Calendar tab and click on a scheduled class.
2. In the Class windows navigate to the Clients tab.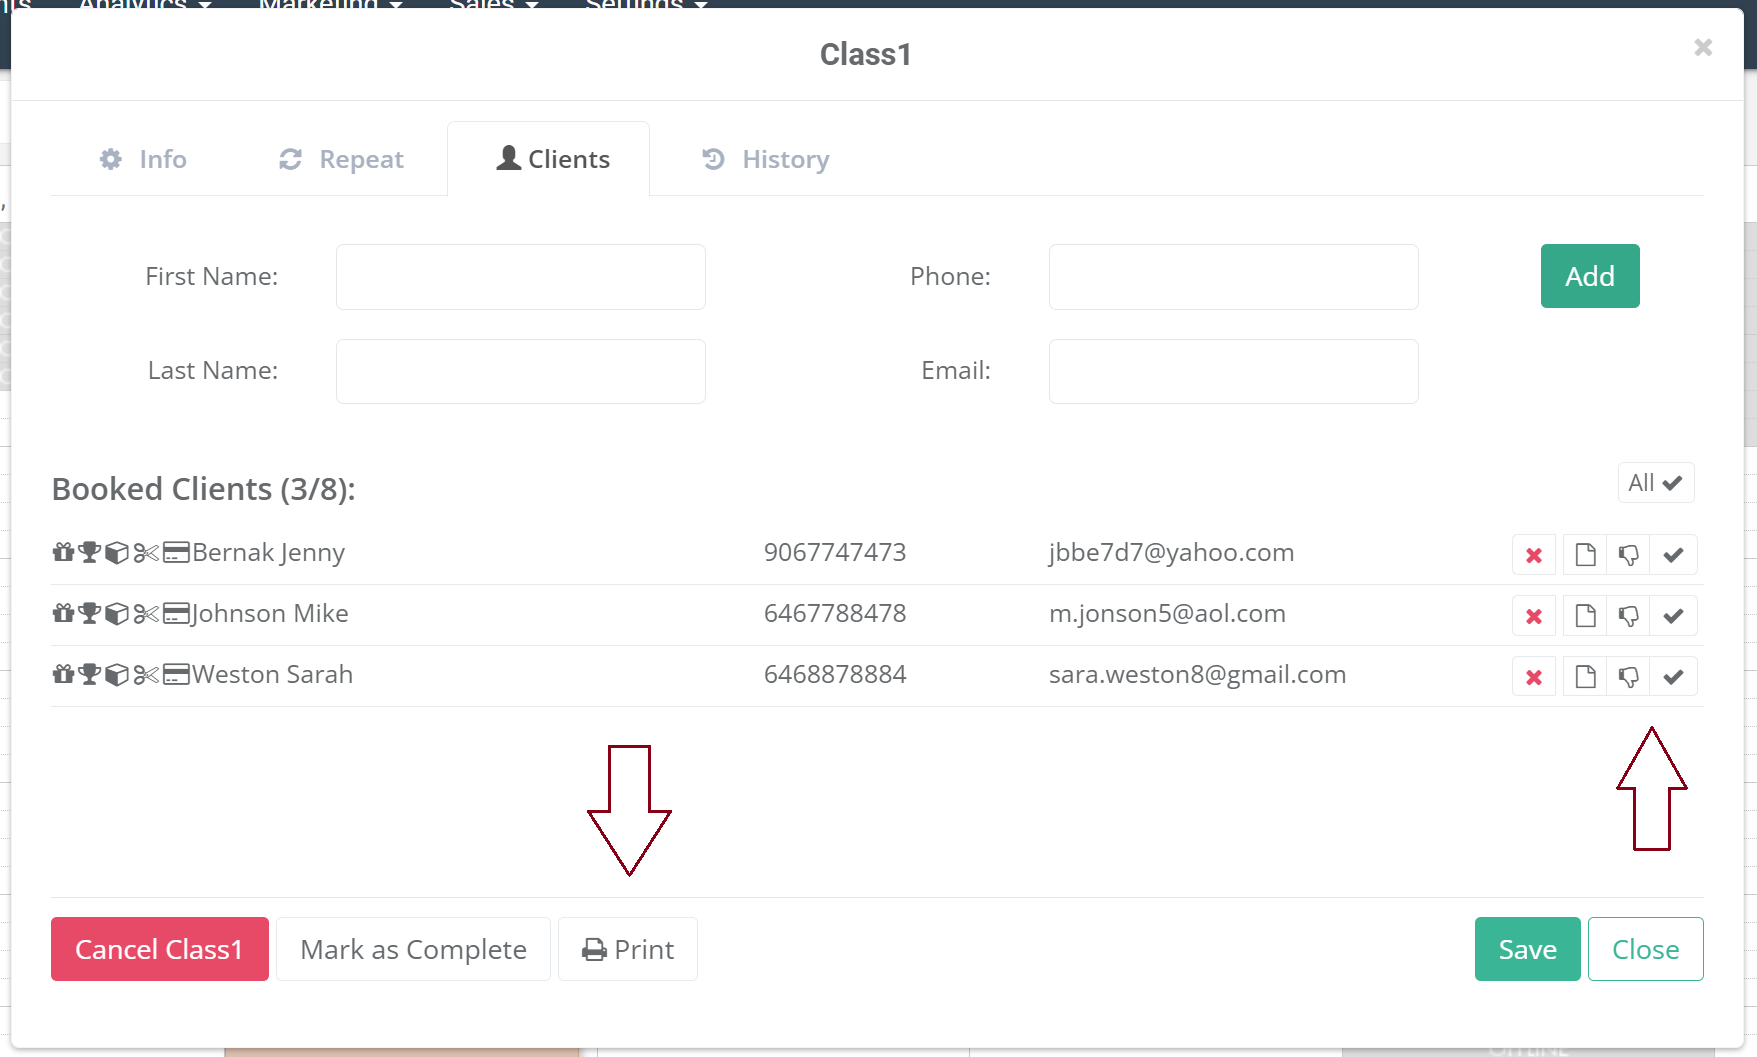
3. You can now check-in clients by clicking check mark button or mark no-shows by clicking thumbs down button. Clicking All Checked In button will mark all customers as checked-in.
4. You can also print a class report by clicking Print button..png)
5. Check-in or No-show status will be reflected in the client's profile activity tab.